
How do I add and manage my products?
Add products to your library manually, from a product page link or by importing your Shopify or Nuvemshop catalogue, and use them in projects.
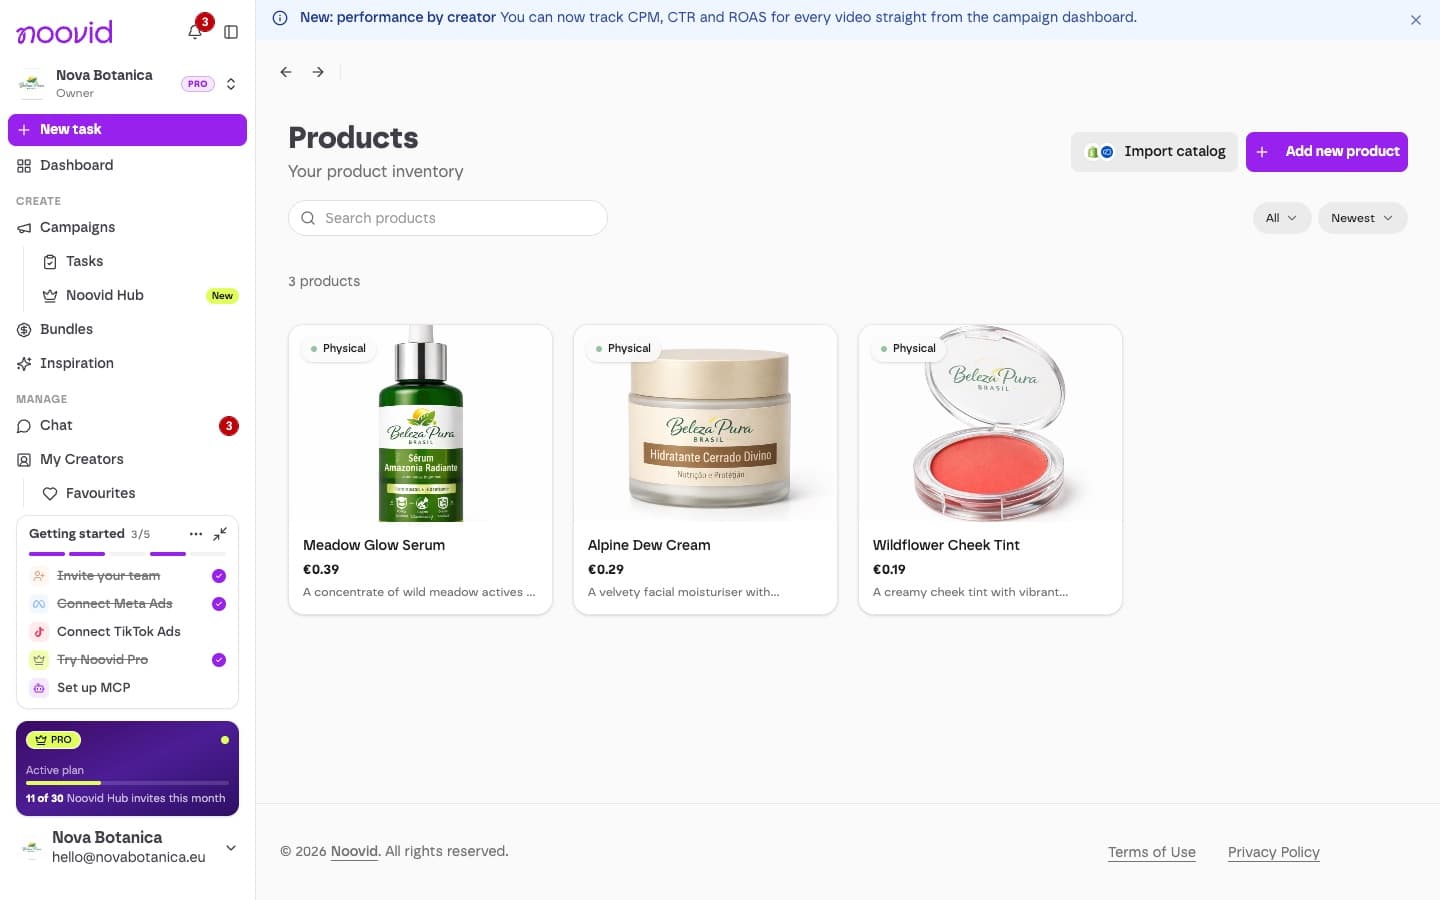
Your products live in Products in the sidebar. Add each one once and reuse it in any project — every project is about one product.
➕ Adding a product
Click Add new product (or add one while creating a project):
Product page link
Paste it in the Auto-fill from your product page box and click Auto-fill. Noovid fills in the name, price, description and photo for you.
Name, price and description
Add the product name (up to 100 characters), retail price and description.
Product image
Upload a product image (PNG or JPG, up to 4 MB).
How does the creator get it?
- Physical Product — you ship it to the creator.
- Digital Product — you give the creator access (an app, an online service, a subscription…).
- Service — the creator books or uses your service.
All fields are required
All fields are required, so creators get the full picture.
📥 Importing your catalogue
Click Import catalog to add lots of products at once from a Shopify or Nuvemshop product export (CSV, up to 10 MB and 250 products). With a Shopify export, product images come along too.
🗃️ Managing products
- Filter by All, Physical, Digital or Service, and sort by date, price or name.
- To stop using a product, archive it from its edit window. Archived products can't be used in new projects, but projects already running aren't affected.
🚚 Why the product type matters
- Physical products go through the shipping step: you send the product and add tracking.
- Digital products and services skip shipping.
For physical products, the creator's countdown starts when they confirm receipt (or when you mark shipping as not needed); for digital products and services, it starts as soon as they're accepted onto the project. How creators receive your product